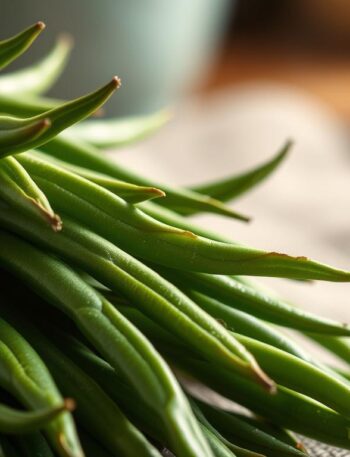
Knowing how long to blanch green beans is key to getting them just right. Blanching involves briefly boiling them and then cooling them fast in ice water. This keeps them green and crunchy. The best time for blanching is usually 3 to 5 minutes, depending on the beans’ size and freshness.
Blanching green beans right makes them taste better and look more vibrant. It also keeps their nutrients and gets them ready for freezing or more cooking. By mastering blanching, you can make your green beans a hit in any dish. Get ready to unlock the full flavor of your green beans!
For more on green beans and how to prepare them, check out our about us page. Let’s explore the blanching process and find the perfect timing for your cooking!
Understanding the Blanching Process
Blanching is a cooking method we often hear about, like in a blanching green beans guide. It involves putting fresh, trimmed green beans in boiling water for a short time, usually just a few minutes. Then, we quickly put the beans in an ice bath.
This step is key for several reasons. It stops the cooking process, keeping the beans’ crisp texture and bright color. It also helps keep nutrients in, so we get the most health benefits from our green beans. Knowing about blanching helps us use our fresh produce better.
Using this technique, we can prep green beans ahead of time for meals. Whether we choose to steam, sauté, or roast them later, blanching keeps them tasty and healthy.
The Importance of Blanching Green Beans
Blanching green beans can really improve our cooking. It does many things that make our food better. It keeps the beans’ bright green color, making them look great on our plates.
Blanching also makes the beans taste and feel better. They become crisp and tender, perfect for salads or as a side. This method also removes any bitterness, improving the taste.
Another key reason to blanch green beans is to stop enzyme action. Enzymes can make the beans taste, look, and feel worse, which is bad when freezing. Blanching stops these enzymes, keeping the beans fresh longer. This makes blanching a must-do step in cooking.

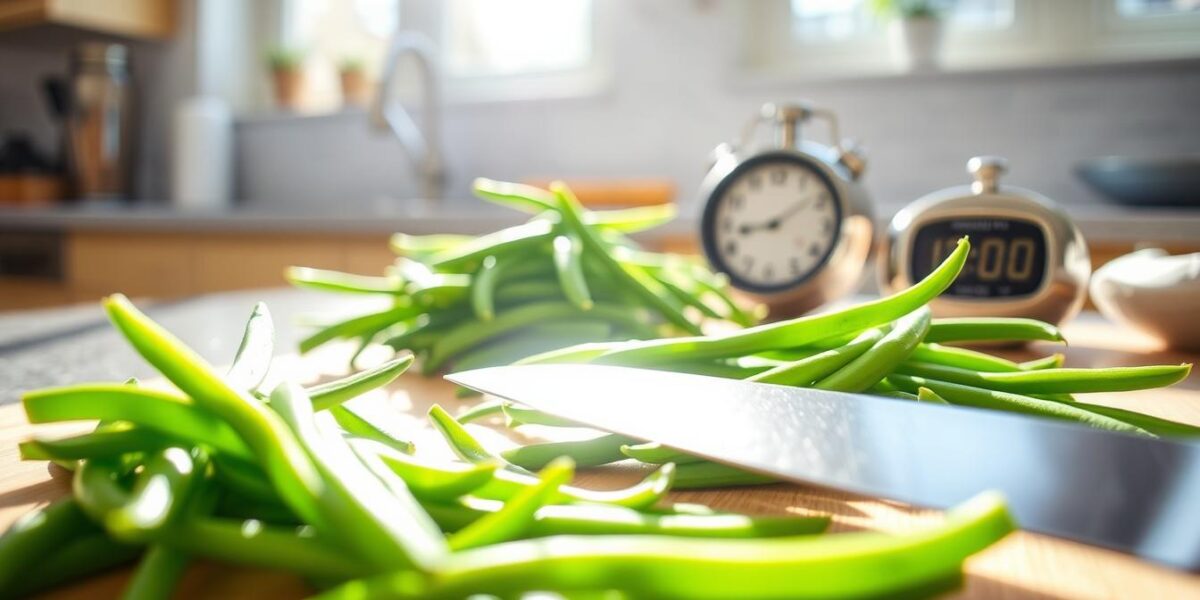
How Long to Blanch Green Beans
Knowing the right time to blanch green beans is key for that perfect crunch and color. So, how long should you blanch green beans? We recommend 3-5 minutes in boiling water. The exact time depends on a few factors, which we’ll look into.
Recommended Timing for Blanching
The blanching time starts at 3 minutes for small, tender beans. For bigger beans or a crunchier texture, go for 5 minutes. Always have ice water ready to stop the cooking and keep the beans firm.
Factors Affecting Blanching Time
Several things can change how long you blanch green beans. Consider these:
- Freshness: Fresher beans need less time.
- Size: Thicker beans take longer to cook.
- Submersion: Make sure beans are fully covered in water.
- Pot size: A bigger pot takes longer to boil again.

By thinking about these factors, we can adjust the blanching time. This helps us get the perfect texture and taste in our green beans.
Best Blanching Duration for Green Beans
Finding the right blanching time is key for tender-crisp green beans. For regular green beans, 4 minutes is usually perfect. But, if you’re using delicate haricots verts, aim for 2-3 minutes.
It’s important to watch the beans while they’re blanching. They should turn a bright green. If they start to lose color, they’ve been blanched too long. This way, you get the best texture and avoid overcooking.
Here’s a quick guide for blanching different green beans:
| Type of Green Beans | Recommended Blanch Time |
|---|---|
| Standard Green Beans | 4 minutes |
| Haricots Verts | 2-3 minutes |

Optimal Blanching Time for Green Beans
Getting the timing right for blanching green beans is key to a perfect bite. The best blanching time is between 2 to 5 minutes, based on their thickness. This short cooking time keeps them tender and green. You don’t want mushy beans!

After blanching, check the texture of your green beans. They should be crisp-tender. A simple way to check is to bite into a bean. If it snaps and feels slightly firm, you’re good to go!
How to Check for the Right Texture
Here’s how to check the texture of your green beans:
- Set a timer for your chosen blanching duration.
- After the timer goes off, remove a bean from the pot.
- Bite into the bean to test its firmness. It should feel crisp yet tender.
- If it meets your expectations, it’s time to remove the rest from boiling water!
With practice, you’ll get the blanching time just right. This will make your vegetable dishes taste fresh and look great.
| Blanching Time (minutes) | Bean Thickness | Texture |
|---|---|---|
| 2 | Thin (about 1/4 inch) | Crisp-tender |
| 3 | Medium (about 1/2 inch) | Tender-crisp |
| 4-5 | Thick (over 1/2 inch) | Tender |
Perfect Blanching Time Green Beans
Finding the right blanching time for green beans can change your cooking game. Everyone likes their green beans differently. By trying different times, we can make them just right for salads, stir-fries, or as a side dish.
Mastering this skill takes practice. The best time might change based on the recipe or how you plan to use them. Trying different times can help you find what you like best. A bit of practice will make you more confident in cooking green beans.
Blanching Green Beans Guide
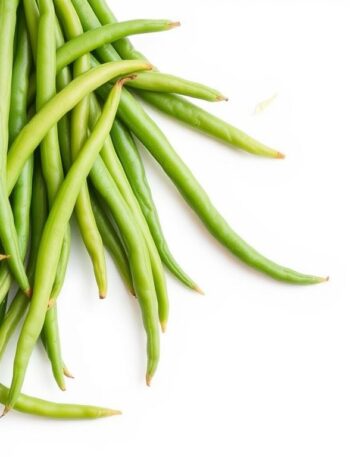
Welcome to our blanching green beans guide! We’ll show you how to keep your green beans bright and crunchy. Let’s start with the preparation.
- Green beans: 1 lb, fresh, trimmed
- Water: 4 quarts, boiling
- Ice: Enough for an ice bath
Here are the steps for successful blanching:
- Trim the ends of the green beans. This gets them ready for cooking.
- Bring the water to a boil in a large pot.
- Add the green beans to the boiling water. Blanch them for the right tenderness:
| Texture | Blanching Time |
|---|---|
| Crisp-tender | 2-3 minutes |
| Fully tender | 4-5 minutes |
- Once the time is up, immediately transfer the beans to an ice bath to halt the cooking process.
- Cool them for about 5 minutes, then drain the beans and pat them dry.
By following this guide, you can easily prepare vibrant and delicious green beans. Enjoy your cooking adventure!
Essential Tools for Blanching
To get the best results when blanching green beans, you need the right tools. A large pot is essential for boiling water. It gives the beans enough room to cook evenly.
A slotted spoon or skimmer is great for removing beans from boiling water. It keeps excess water off the beans.
Preparing an ice bath in a large bowl is a must. Fill it with ice and cold water. This stops the cooking process fast, keeping the beans’ color and texture crisp.
Don’t forget a timer. Timing is critical in blanching. A reliable timer makes the process smooth and fun.
Green Beans Blanching Tips
Let’s dive into some green beans blanching tips to get perfect results every time. First, make sure to use plenty of water. This helps the water temperature rise quickly when adding the green beans. A big pot of boiling water is perfect for blanching.
It’s also important not to overcrowd the pot. Too many beans can lower the water temperature, causing uneven cooking. If needed, blanch in batches to avoid this.
After blanching, quickly cool the beans in an ice bath. This stops the cooking process right away, keeping their color and texture fresh. Cool the beans for about the same time as they were blanched.
By following these tips, we can make our green beans taste great in any dish. Let’s start blanching!
Serving and Using Blanched Green Beans
We can enjoy blanched green beans in many ways. A good serving size is about 4 oz per person. This is great as a side dish at dinner. Add them to a salad for a crunchy texture and vibrant color.
They go well with Caesar dressing or a light vinaigrette. Using blanched green beans opens up many kitchen possibilities. They’re perfect in stir-fries and casseroles, adding a nutritious crunch.
Try drizzling them with olive oil, sprinkling sea salt, and squeezing lemon juice. This simple veggie becomes irresistible. For a bit of flair, top the beans with crispy bacon, caramelized onions, or toasted almonds.
These toppings add flavor and exciting textures. Sometimes, we serve blanched green beans on a veggie tray with hummus or ranch dressing. They stay fresh in the fridge, rolled in paper towels, for up to five days.
For reheating, sauté the beans in a pan with olive oil or butter. Roasting them in the oven at 400°F for 8-10 minutes adds a delightful crispiness. To explore more recipes, check out this link.
Conclusion
Mastering blanching green beans is key to making tasty, vibrant side dishes. The best blanching time is 3 to 5 minutes. This keeps them bright green and crisp.
Don’t over-blanch, as it makes them look dull and soft. It’s important to watch the time closely.
After blanching, plunge them into an ice bath. This stops the cooking and keeps them crisp. You can store them in the fridge for a week or freeze for nine months.
Freezing them quickly, or flash freezing, helps keep their color and quality. This way, they stay delicious and fresh.
Now, you can make your meals better with blanched green beans. For more tips, check out this guide on blanching green beans. Enjoy cooking!